Gemstones Therapy
DIY Repair Tips for Gemstone Bracelets
DIY Repair Tips for Gemstone Bracelets
Real gemstone bracelets are not just beautiful accessories; they are meaningful investments that connect you to your goals and aspirations. Imagine your future adorned with these exquisite pieces, reflecting your unique style and personality to every customer who catches a glimpse. But even the finest gemstones can encounter issues like loose stones or broken clasps, leaving you wondering how to restore their beauty. Fear not; with a few essential tools and some handy tips, you can tackle these repairs yourself. Keep reading to discover step-by-step solutions that will empower you to maintain the integrity and elegance of your gemstone jewelry.
Key Takeaways
- Regularly inspect your gemstone bracelets for loose gems and clasp functionality
- Use proper tools for DIY repairs to maintain jewelry integrity
- Clean your gemstone bracelet routinely to preserve its beauty and shine
- Store jewelry in protective pouches to prevent scratches and damage
- Seek professional help for major repairs to ensure quality and longevity
Identifying Common Issues With Gemstone Bracelets

As you assess your real gemstone bracelets, imagine your future, you may encounter several common issues that can affect both their appearance and functionality. Loose gems can appear noticeably displaced, compromising the bracelet’s aesthetic appeal. Recognizing the signs early can save you from more extensive jewelry repair down the line. Similarly, clasp failures often go unnoticed until the last moment. By knowing how to spot these issues early, you can prevent loss. Finally, observing wear and tear is essential to maintaining the integrity of your jewelry. Whether it’s a turquoise piece or a bracelet featuring intricate engraving, regular checks for damage help ensure your gemstone jewelry remains beautiful and functional.
Loose Gems: Recognizing the Signs
When examining your gemstone bracelets, look closely for any signs of looseness in the gems. A gem that shifts or feels out of place indicates that it may need adjustments, especially if it has been subjected to wear or exposure to cosmetics that could weaken the adhesive holding it in place. If you notice any loose stones, consider a replacement or securing them with metal settings to ensure they stay firmly in place and maintain the bracelet’s overall beauty.
Clasp Failures: How to Spot Them Early
Clasp failures can lead to unexpected mishaps, so it’s crucial to check how securely the clasp holds under pressure. Pay attention to how the clasp opens and closes; if it feels loose or requires extra effort, it may no longer support the weight of your gemstone bracelet or anklet effectively. A reliable clasp should snap shut firmly, much like your ear or finger recognizes a good fit; if you sense hesitation in its functionality, it’s time to consider repairs.
Wear and Tear: Assessing for Damage
Regularly assessing your gemstone bracelets for wear and tear is vital in preserving their beauty. Look for signs of damage around the bezel or where the stones are set, as this area often bears the brunt of daily wear. Additionally, inspect the chain or band, especially if it’s made of sterling silver or incorporates steel elements, to ensure it remains intact and resilient, particularly for birthstone pieces that carry personal significance.
As you uncover the common issues with gemstone bracelets, you may feel a spark of creativity igniting within you. Get ready to dive into the world of DIY repairs, where the right tools will empower you to bring your favorite pieces back to life!
Tools You’ll Need for DIY Gemstone Bracelet Repairs
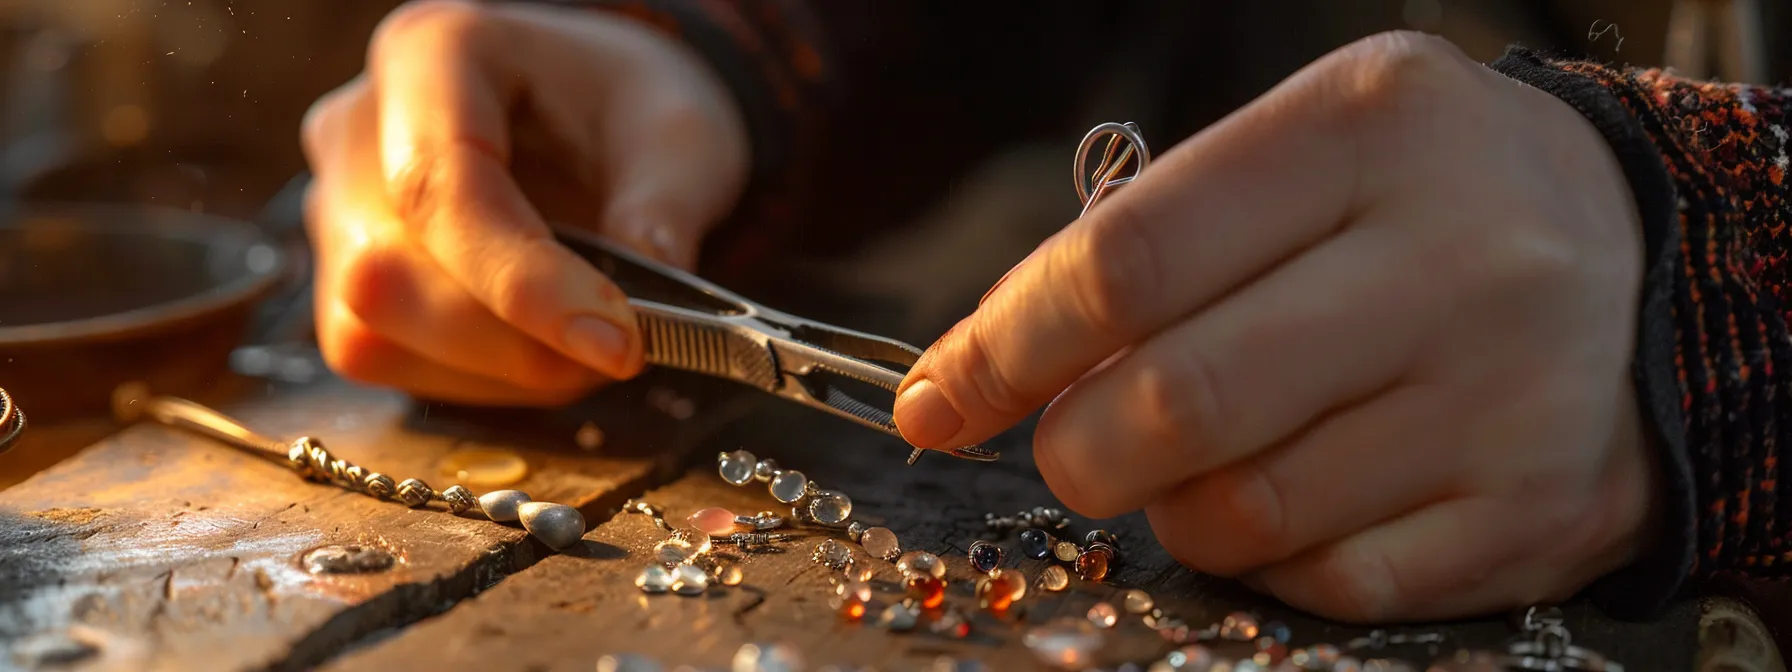
To successfully tackle any DIY repair jewelry project, it’s essential to gather the right tools that cater to both basic and advanced needs. Start by assembling a basic repair kit that includes items such as pliers, wire cutters, and adhesive, which are perfect for immediate fixes on your gemstone bracelets. As you gain confidence, consider investing in advanced tools for more specific repairs, like a soldering iron for adjustments on silver or rhodium-plated pieces, and specialized settings for lab-grown diamonds. Having these tools on hand can help you maintain the integrity of your beloved jewelry collection, just as you would care for your favorite handbag, ensuring that each piece remains as stunning as the day you acquired it.
Basic Repair Kit Essentials
When preparing your basic repair kit for gemstone bracelets, focus on gathering essential tools that will aid in both inspection and repair. A pair of precision pliers will help secure delicate beads and work with precious metal settings efficiently, giving you the control needed for intricate adjustments. Additionally, having a strong adhesive tailored for jewelry repairs ready in your cart can ensure you maintain the integrity of each piece, aligning with best practices and your terms of service while caring for your treasured items.
Advanced Tools for Specific Repairs
For more advanced jewelry repairs, investing in tools specially designed for specific tasks is highly beneficial. If you plan to work with platinum or tackle adjustments on a wedding ring, a soldering iron is indispensable, allowing you to create strong bonds and ensure durability. A reliable customer service source can also guide you in selecting the right tools for your needs, and incorporating recycling practices can enhance your skills while caring for the environment during your jewelry repairs.
Now that you’re equipped with the essential tools for your gemstone bracelet repairs, let’s jump into the exciting process of tightening those loose gemstones. Get ready to restore your jewelry to its former glory with our step-by-step guide!
Step-by-Step Guide to Tightening Loose Gemstones
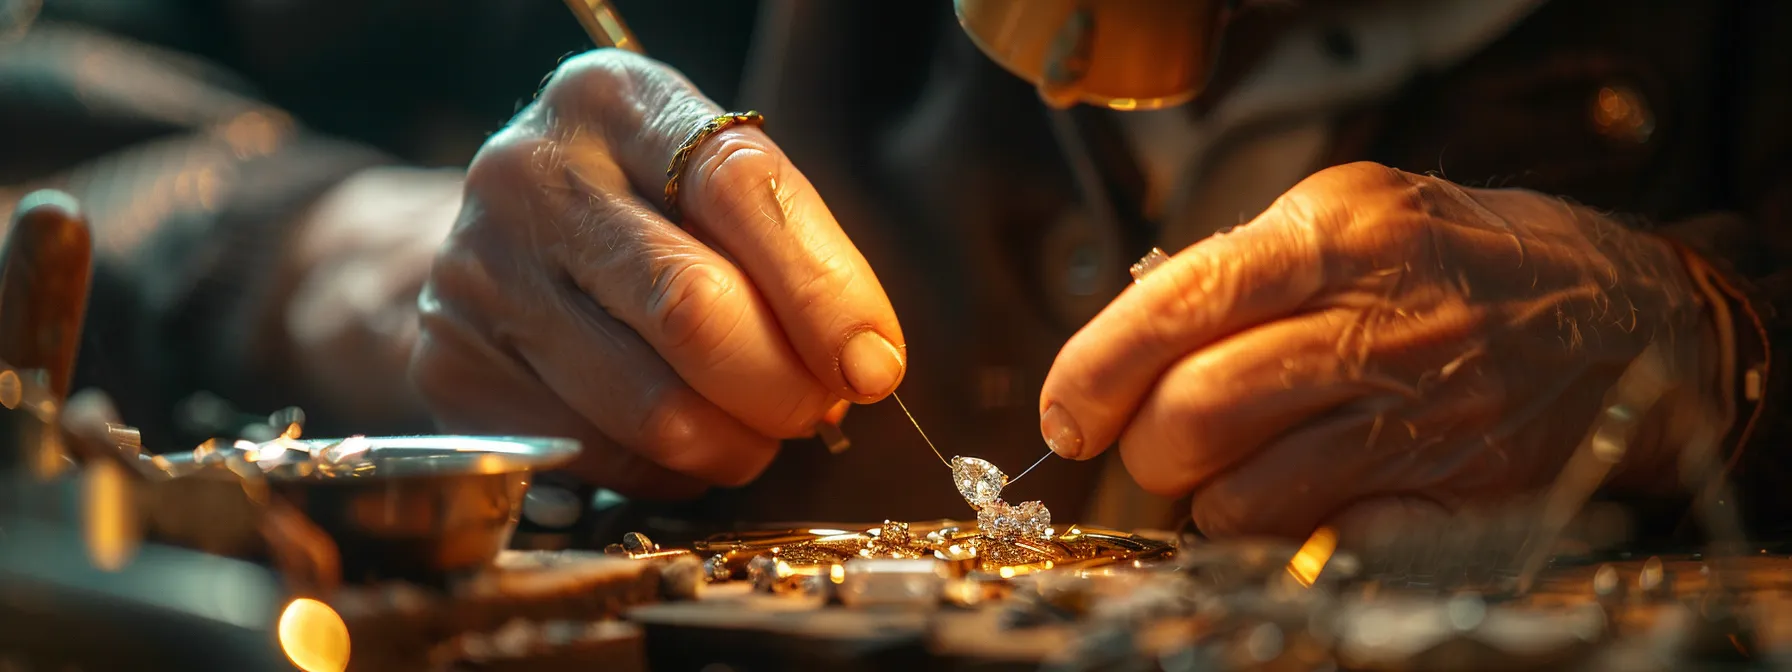
To begin tightening loose gemstones in your bracelet, start by ensuring your workspace is organized and free from distractions. Gather all necessary tools, including pliers and adhesive, to streamline the process. Carefully remove the loose gemstone from its setting, taking care not to damage surrounding materials. Next, prep the setting by cleaning any residual adhesive, ensuring a smooth surface for reattachment. With everything in place, you can securely reattach the gemstone, making sure it fits snugly without any gaps. Finally, take a moment to add finishing touches, such as cleaning the entire piece, to restore its shine and brilliance. This straightforward procedure will help you maintain the beauty and integrity of your beloved bracelet.
Secure Your Workspace and Gather Tools
Before you begin the process of tightening loose gemstones, take a moment to set up your workspace. Choose a clean, well-lit area where you can comfortably focus on the task without distractions. Ensure that all necessary tools, such as pliers, adhesive, and a soft cloth for cleaning, are conveniently within reach to facilitate a smooth repair process.
An organized workspace minimizes the risk of losing small components and helps you maintain concentration while working on your bracelet. By having your tools ready and your environment arranged, you set yourself up for success in restoring the beauty of your gemstone jewelry.
Carefully Remove the Loose Gemstone
Begin by gently prying the loose gemstone from its setting using your precision pliers. Employ a soft touch to avoid damaging the stone or the surrounding framework, applying minimal pressure as you work the gemstone free. Once loosened, carefully lift it away from the bracelet, ensuring you maintain control and prevent any harm to the delicate components of your jewelry.
Prepping the Setting for Reattachment
To prepare the setting for reattachment, start by inspecting the area where the gemstone was previously secured. Clean any old adhesive residue carefully, using a small tool, to create a smooth surface for the new bond. This attention to detail ensures a stronger hold, allowing the gemstone to sit firmly in place once reattached.
Reattaching the Gemstone Securely
To securely reattach the gemstone, position it carefully back into its setting, ensuring it aligns perfectly with any grooves or slots in the design. Apply a small bead of jewelry adhesive around the edges of the gem, taking care not to overuse the glue, as excess can create a mess. Hold the gem in place for a few moments to allow the adhesive to set slightly, ensuring a firm bond for lasting stability.
Finishing Touches and Cleaning
After securely reattaching the gemstone, it’s essential to give your bracelet a thorough clean to restore its shine and luster. Use a soft cloth to gently wipe down the entire piece, removing any dust or fingerprints that may have accumulated during the repair process. This final step not only enhances the appearance of your bracelet but also helps you appreciate the beauty of your craftsmanship.
With your gemstones securely in place, it’s time to tackle another jewelry challenge: a broken clasp on your favorite bracelet. Get ready to flex your DIY skills and restore your cherished piece to its former glory!
Fixing a Broken Clasp on a Bracelet at Home
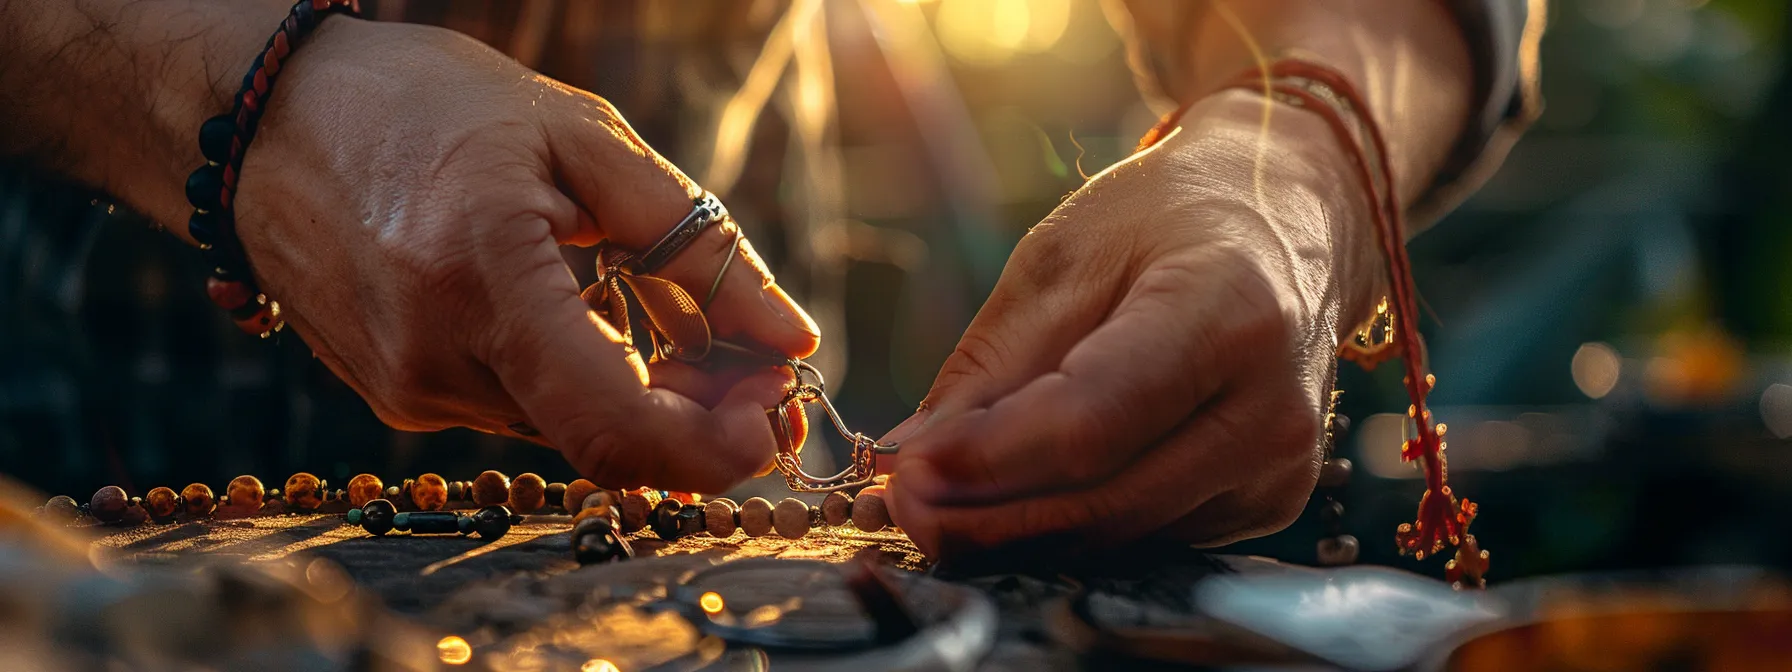
Begin by identifying the type of clasp your bracelet features, as this will inform your repair strategy. Once you understand the clasp’s design, proceed to remove the damaged component carefully to avoid any additional harm to your bracelet. With the clasp detached, you can then attach a new one using basic tools that you have on hand. This process ensures that your bracelet remains secure and looking its best, allowing you to enjoy your cherished piece once more.
Identifying the Type of Clasp
To effectively repair a broken clasp, you first need to identify its type. Common clasp styles include lobster claw, toggle, and magnetic clasps, each requiring different approaches for replacement. Familiarizing yourself with these variations will help streamline the repair process and ensure a secure fit for your gemstone bracelet.
Once you’ve determined the clasp type, observe how it connects to your bracelet. This understanding will guide you in selecting a compatible replacement and prevent further damage during the repair. Here’s a breakdown of the steps to successfully replace a broken clasp:
- Identify the clasp type.
- Examine its connection to the bracelet.
- Select a suitable replacement clasp.
Removing the Damaged Clasp
To remove the damaged clasp from your bracelet, securely hold the bracelet with one hand while using the other hand to work on the clasp. Use your pliers to carefully detach the clasp, taking your time to avoid any unintentional damage to the bracelet itself. Ensure that you have a clear view of the connection points, as this will help you with the replacement process once the damaged clasp is removed.
Attaching a New Clasp With Basic Tools
Once you’ve selected your new clasp, align it with your bracelet’s connecting point. Use your pliers to securely attach the new clasp by looping it through the chain link, ensuring that it sits flush against the bracelet. Ensure that you apply steady pressure until the clasp is firmly in place, checking for stability before wearing your bracelet again.
Once you’ve restored the clasp, take a moment to admire your work. But why stop there? Let’s turn our attention to those missing stones and give your bracelet the sparkle it deserves!
Replacing Missing Stones in Your Bracelet

Addressing a missing stone in your gemstone bracelet doesn’t have to be a daunting task. Start by ensuring you have a new stone that matches the original in size, shape, and color, as this will maintain the bracelet’s aesthetic integrity. Once you’ve found the perfect match, prepare the empty setting by cleaning any debris or remaining adhesive that may hinder a secure fit for the new gemstone. Finally, proceed to set the new stone firmly in place, making sure it aligns well with the surrounding gems to create a cohesive and polished appearance.
Matching the Missing Stone
To effectively replace a missing stone in your bracelet, ensure that the new gem you select matches the already existing ones in size, shape, and color. This attention to detail enhances the overall appearance and maintains the integrity of your bracelet’s design. Take the time to source a stone that not only fits perfectly but also complements the aesthetics of your jewelry.
After securing the correctly matched stone, you’re ready to proceed with placing it in the vacant setting, making sure it aligns seamlessly with its neighboring gems. This process contributes significantly to restoring your bracelet’s beauty and showcases your attention to detail.
Preparing the Empty Setting
Before placing a new stone in the empty setting of your bracelet, you need to thoroughly clean the area where the stone will be set. Use a soft brush or cloth to remove any dust, dirt, or old adhesive that might hinder the new gemstone‘s secure placement. This step is vital to ensure a tight fit and create a strong bond once the new stone is applied:
Once you have prepared the empty setting, inspect how well the new stone fits within the space. An optimal setting will provide stability and allow the adhesive to bond effectively, ensuring your bracelet’s longevity and aesthetic appeal.
Setting the New Stone
Once you have ensured that the empty setting is clean, place the new stone gently into the slot. Apply a small amount of jewelry adhesive around the edges to secure the stone firmly in position. Hold it for a brief moment to allow the adhesive to bond, ensuring it is snug and appears seamless within the bracelet’s design.
You’ve successfully restored the beauty of your bracelet, and it’s time to ensure that it stays just as vibrant. Let’s dive into some effective strategies for maintaining your gemstone bracelet after repairs, so it continues to shine for years to come!
Maintaining Your Gemstone Bracelet After Repairs
After successfully repairing your gemstone bracelet, focus on maintaining its beauty and functionality to prolong its lifespan. Implementing regular cleaning routines will help keep your piece looking vibrant, while proper storage solutions can shield it from potential scratches and damage. Be attentive to the signs that may indicate the need for professional help, as certain issues require expert intervention. By integrating these practices into your jewelry care routine, you ensure that your cherished bracelet continues to shine, preserving both its aesthetic appeal and value for years to come.
Regular Cleaning Tips
To keep your gemstone bracelet looking its best, establish a regular cleaning schedule. Use a soft cloth to gently wipe it down after each wear, which helps eliminate oils and dirt that can collect over time. When deeper cleaning is necessary, opt for a mild soap solution and never immerse your jewelry in water—this precaution protects both the stones and any adhesives used in the construction.
- Wipe down with a soft cloth daily.
- Clean with a mild soap solution weekly.
- Avoid submerging in water.
- Store in a soft pouch to prevent scratches.
These practices will help maintain the luster and integrity of your bracelet, prolonging its life and ensuring it remains a stunning accessory for years to come.
Storage Solutions to Prevent Future Damage
To ensure your gemstone bracelet remains in optimal condition, invest in proper storage solutions. Consider using soft cloth pouches or jewelry boxes lined with fabric to prevent scratches and damage during storage. Additionally, avoid placing multiple pieces together to minimize the risk of tangling or chipping gemstones.
A consistent organization of your jewelry not only protects your gemstone bracelet but also allows for easy access and inspection. Be mindful of humidity and temperature, as these factors can affect the integrity of the stones. Implementing these practices can extend the life and beauty of your cherished piece:
When to Seek Professional Help for Repairs
Recognizing when to seek professional help is crucial in maintaining the integrity of your gemstone bracelet. If you encounter significant damage, such as a broken stone that doesn’t easily fit, or extensive wear that compromises the piece’s structure, it’s best to consult an expert. By doing so, you can ensure that repairs are handled with the appropriate techniques and materials, preserving the piece’s value and longevity.


